3.14. Settings Profiles
The M81-SSM can help manage settings for an experiment using settings profiles. A settings profile contains all of the settings for the M81-SSM for all connected modules. A profile with all of the settings properly set for an experiment can be captured, then later recalled to establish a convenient, repeatable settings state.
To manage settings profiles, open the settings menu (top left corner of the screen) to go to navigation. Then tap Settings profiles.
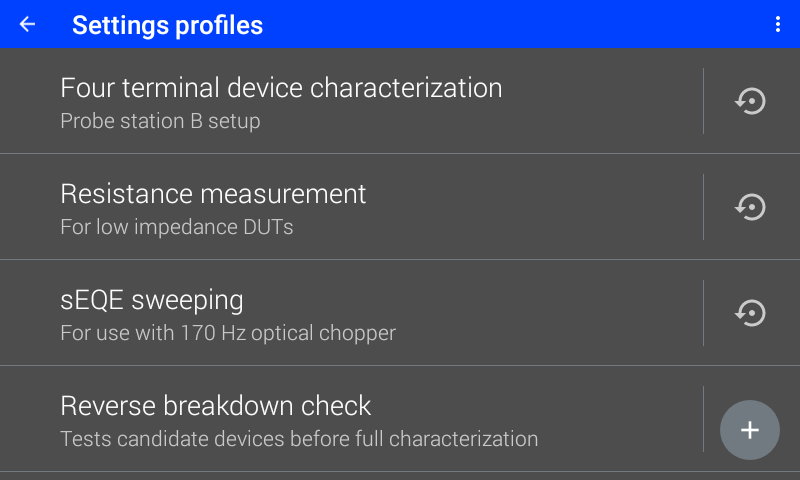
Figure 3.36 example Settings profiles page
Creating a Profile
To create a new profile, first make sure that the desired modules are connected and that all settings are configured as desired for the M81-SSM and all modules.
Then, navigate to settings profiles and click the “+” icon. By default, a numbered name will be created. You can also choose a name for the profile. Then click save.
You can then tap on the profile in the list to view details and optionally add a description.
Recalling a Profile
To recall a profile, first make sure that the same modules are connected as when the profile was created. You can see what modules a given profile expects in the details page for that profile.
Then navigate to the details page for that profile and tap the restore button. You can also tap the restore icon next to the profile name in the profiles list.
Note
When the profile is recalled, all sources will be disabled.
If the Dashboard view was configured when the profile was saved, the dashboard will also be restored.
When recalling a profile from an attached USB storage device, it will not be imported to the instrument.
Updating a Profile
To update a profile, first recall the profile, then make any desired changes to the profile. Then, navigate to the profile details page and tap the update icon in the upper right corner of the screen. This action cannot be performed on a profile that is on an external USB storage device.
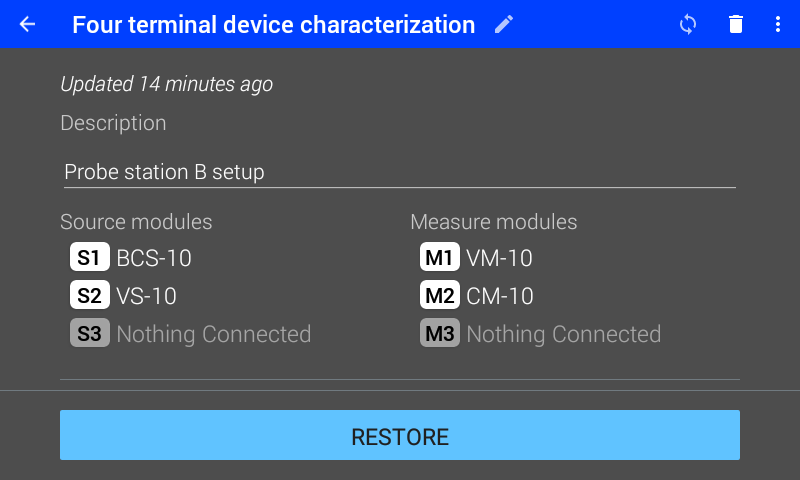
Figure 3.37 Editing a profile
Importing a Profile
To import a profile, first insert an external USB storage device into the back of the instrument. Then tap the import button located next to the restore button on the profiles overview page after the profiles on the drive are loaded. It is also possible to import a profile while on the details page by tapping the import button at the bottom of the screen.
By selecting the overflow menu (three dots in the top right corner of the screen) on the profiles overview page it is possible to import all profiles from an external storage device.
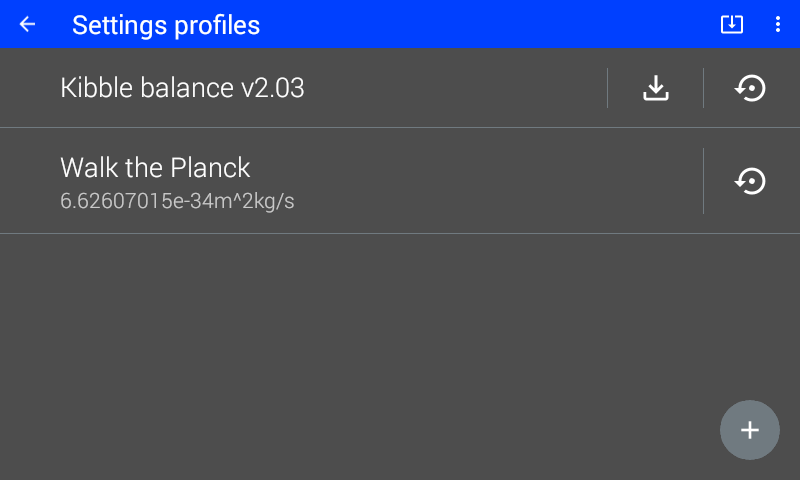
Figure 3.38 Importing a profile
Exporting a Profile
To export a profile, first insert an external USB storage device into the back of the instrument. Then, from a profile’s details page, tap the export button next to the overflow menu (three dots in the top right corner of the screen).
It is also possible to export all profiles by selecting the overflow menu and selecting the export all option.
Caution
While it is possible to view and modify a settings profile when it is on an external storage device, it is strongly discouraged. Attempting to restore a profile that has been manually modified may have unintended effects.
Remote Interface
Settings profiles can also be managed via the remote interface: